
Comprehensive Guide to Setting Up Proxy IPs: A Beginner-Friendly Approach
The mere mention of proxy IPs often conjures images of complex technical jargon and daunting configurations. However, the reality is far less intimidating. Modern proxy services are designed with user-friendliness in mind, allowing even novice users to set up and utilize proxies effectively in just a few minutes, provided they follow the correct steps.
Whether you aim to change your online identity within a browser, configure a proxy for your entire computer system, or integrate a proxy API into your development workflow, this guide provides solutions tailored to each scenario.
At its core, setting up a proxy IP involves instructing your device to route its internet traffic through an intermediary server instead of directly connecting to the target website. This “instruction” can be implemented in three primary ways, depending on the specific use case: browser settings, system settings, and software-specific configurations. Each method has its strengths and weaknesses, making it suitable for different applications. This comprehensive guide will delve into each approach, helping you determine the best solution for your needs.
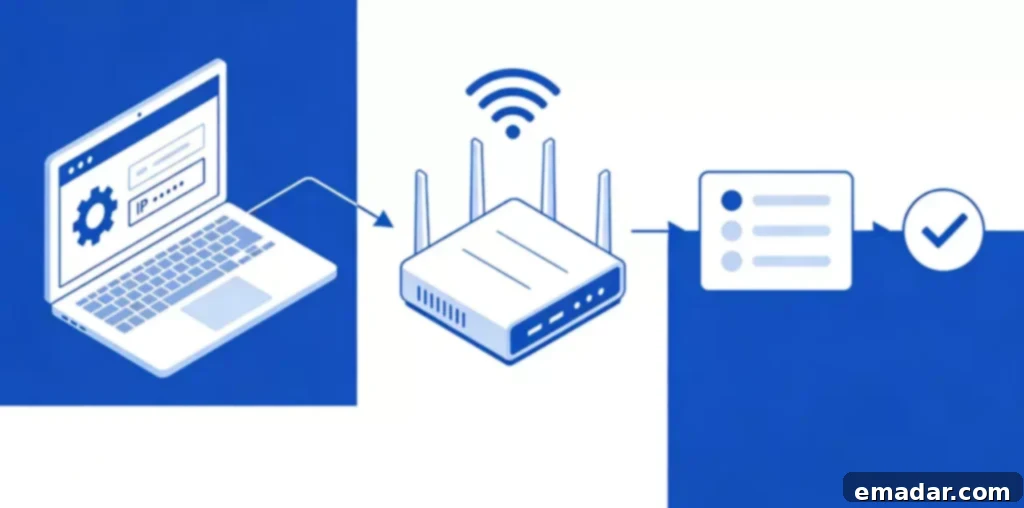
Browser Settings: The Lightest and Most Flexible Method
If your primary goal is to change your IP address while browsing the web – for example, to access region-locked content or test how your website appears in different geographical locations – configuring the proxy within your browser is the simplest solution. This method only affects traffic originating from the browser, leaving other applications on your computer untouched. The setup and removal processes are also quick and easy.
Detailed Guide to Proxy Settings in Chrome
Chrome doesn’t offer a built-in, dedicated interface for proxy settings. Instead, it typically relies on the system’s proxy configuration. However, you can gain more granular control over your proxy settings by installing browser extensions. Highly recommended extensions include SwitchyOmega and Proxy SwitchySharp. These tools allow you to switch between different proxy configurations with a single click, or even automatically select whether to use a proxy based on the website you’re visiting.
After installing a proxy extension, click its icon to access the options page. The first step is to create a new proxy profile, where you’ll enter the proxy server address and port number. If your proxy requires authentication, you’ll also need to provide a username and password. Once saved, you can quickly switch to this proxy by clicking the extension icon. Furthermore, you can set up automatic switching rules – for instance, automatically enabling the proxy when visiting specific websites and disabling it for others.
The primary advantage of this method is its immediate usability without requiring system-wide changes. Additionally, you can configure different proxies for different browsers. For example, you could use a US-based IP address in Chrome and a Japanese IP address in Firefox, effectively maintaining multiple online identities simultaneously. For users who occasionally need to switch regions, this lightweight solution is often sufficient. Professional proxy service providers like IPFLY offer detailed browser configuration guides to ensure users can quickly get started.
Special Considerations for Mobile Browser Proxy Setup
Setting up proxy settings on mobile browsers is a bit more complex. Safari and Chrome on iOS do not directly support proxy extensions. Instead, you’ll need to configure a system-level proxy or use a third-party browser that supports proxy settings (such as Aloha Browser or Opera). Android offers more flexibility; Firefox supports proxy extensions, and Chrome can be configured to use a proxy through specific applications.
Another option for mobile devices is to use a “proxy app.” These apps create a VPN connection at the system level, routing all browser traffic through the proxy server. To configure, simply enter the proxy information, and the app will handle the connection automatically. The advantage is that this affects all browsers on your device; however, it may consume more battery power and potentially affect the network performance of other apps.
System-Level Settings: A Global Solution for Long-Term Use
If you need all applications on your computer – including browsers, instant messaging apps, and download managers – to use a proxy, you’ll need to configure the proxy at the operating system level. This approach only requires a one-time setup and applies globally, making it ideal for users who require a stable and consistent proxy environment.
Step-by-Step Guide to Proxy Configuration on Windows
Proxy settings on Windows 10 and 11 are relatively straightforward. Go to “Settings” -> “Network & Internet” -> “Proxy” to configure your manual proxy. First, disable “Automatically detect settings,” then enable “Use a proxy server,” and enter the address and port number. If the proxy requires authentication, the system will prompt you for a username and password when you first connect.
A more traditional method involves accessing “Internet Options”: Find Internet Options in the Control Panel, go to the “Connections” tab, click “LAN settings,” check “Use a proxy server for your LAN,” and enter the address and port number. This method is highly compatible and can even be recognized by older software.
After configuration, it’s recommended to open the Command Prompt and enter ipconfig to check the network status or visit an IP address lookup website in your browser to confirm that the displayed IP address matches the proxy address. If some applications still bypass the proxy, you may need to configure them individually within their settings, as some apps may bypass the system proxy and connect directly.
Key Considerations for macOS and Linux Configuration
On macOS, go to “System Preferences” -> “Network,” select the network connection you’re using, click “Advanced,” and go to the “Proxies” tab. Here, you can configure separate proxies for Web Proxy (HTTP), Secure Web Proxy (HTTPS), and SOCKS Proxy. Check the desired proxy type and enter the server information.
Proxy configuration on Linux varies slightly depending on the distribution. On GNOME desktops, you can find the proxy configuration in “Settings” -> “Network.” KDE has a dedicated system settings module. Command-line users can configure proxies through environment variables: export http_proxy=http://user:pass@host:port. Adding this command to .bashrc or .zshrc will make it permanent.
While system-level settings offer comprehensive coverage, be aware of potential side effects. Some local applications may become slow or fail to connect under a proxy environment. In such cases, you’ll need to create “exception” rules to allow these websites or applications to bypass the proxy and connect directly. Most proxy settings interfaces offer a “Do not use proxy server for addresses beginning with” option, where you can enter commonly used local domains.
Software-Specific Settings: Fine-Grained Control for Professional Tools
Many professional applications have built-in proxy settings, such as download managers (IDM, Xunlei), instant messaging apps (Telegram, Skype), and development tools (Git, Docker). This approach offers the most flexibility, allowing you to configure specific proxies for specific applications without affecting others.
Proxy Configuration for Development Environments
Developers often need to configure a proxy for Git, as accessing code hosting platforms like GitHub can be unreliable in some regions. Git supports both HTTP and SOCKS proxies, configured with the following commands: git config --global http.proxy http://proxy.example.com:8080 and git config --global http.proxy socks5://proxy.example.com:1080.
Proxy configuration for Docker is slightly more complex, requiring modifications to the daemon configuration file or specifying environment variables when creating containers. The specific method depends on the operating system and Docker version, so consulting the official documentation is recommended.
Python developers using the requests library can specify a proxy using the proxies parameter: requests.get('http://example.com', proxies={'http': 'http://proxy:8080', 'https': 'http://proxy:8080'}).
These professional scenarios often require a clear understanding of protocol types (HTTP/HTTPS/SOCKS5). An HTTP proxy can only proxy HTTP traffic, an HTTPS proxy supports encrypted websites, and a SOCKS5 proxy is the most versatile and can proxy any TCP connection. When choosing a proxy service, ensure that it supports the protocol types that match your needs. IPFLY’s proxy service supports all protocols, providing a single configuration for multiple purposes and simplifying configuration for developers.
Completing the Cycle: From Setup to Usage
Setting up a proxy IP, while seemingly technical, is essentially a process: define your use case (browser/system/specific application), choose a configuration method, enter the correct server information, verify that it’s working, and troubleshoot any issues. By following this process, most users can successfully complete the configuration independently.
When encountering issues, start by checking the basic information: is the address and port correct? Is the authentication information accurate? Is your local firewall blocking the connection? Then, verify that the proxy itself is working by testing it on another device or network. Finally, check if the target website has any special restrictions. A systematic troubleshooting approach will resolve most issues. Choosing a service provider with comprehensive documentation and technical support can make the process even smoother.
IPFLY Proxy: Your Reliable Proxy Solution
- Stable connections across all nodes, supporting over 190 countries and regions worldwide.
- Millisecond-level connection speeds, ensuring uninterrupted operation and simulating real home broadband scenarios.